
How to Change Your Domain Name / Website Address / URL of Your WordPress Website in 2019
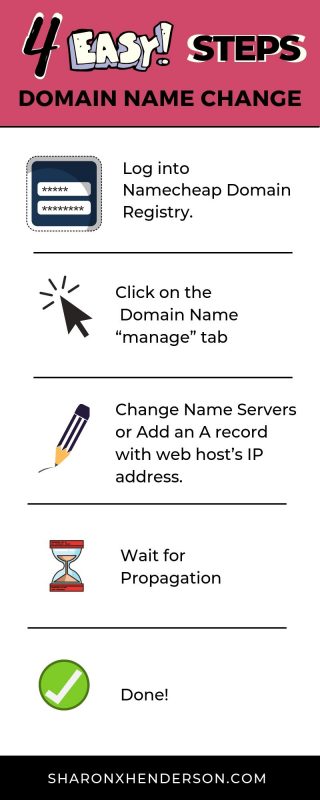
How to Change Your Domain Name/ Website Address/ URL of your WordPress Website in 2019
In the video, and the blog post below, I demonstrate the process for changing your domain name at the Domain Registry where it’s registered.
What is a Domain Name?
Your domain name is essentially the URL you see displayed in your browser bar. The domain name is what’s important for your business, because of the brand association attached to it.
Sub-Domains
When I’m building a website, I tend not to use my ultimate domain until the site is finished. That’s because we don’t want people to be able to see a half-developed site. So, I will normally build on a very obscure domain name, and then I tend to create a subdomain. A sub-domain is an additional component of the url. For example, let’s say I use “website” as my subdomain for sharonxhenderson.com, my full url will be website.sharonxhenderson.com. And nobody is going to find the website I’m building on this obscure sub-domain.
Thus, I’ll build my site on the obscure sub-domain. And I won’t go back to the registry to change my domain name to what I actually want it to be until the site is finished. At that point, I will return to the Domain Registry and point my domain to the newly built website, thereby taking it live.
In this demonstration, I show you how to actually go ahead and switch over a domain name.
Watch the Video:
Staging Sites
If you happen to be using a web host like Cloudways, then you can take advantage of their staging site feature. This is the url where we automatically install a new WordPress website. With Cloudways, that staging site is comprised of the url “https://cloudways.com”, followed by a series of letters and numbers. Then, once you’re ready to take the site live, you can simply point your desired domain to the site and you’re good to go.
Now, the majority of other web hosts, such as Siteground, and InnoHosting, don’t operate this way, Those web hosts instead require you to point a domain or a sub-domain to the site upon installation.
Screenshare for Namecheap Domain Registry
Generally, I tend to use NameCheap for the majority of the domains I have registered. So, for the purposes of this demonstration, I am using Namecheap‘s interface.
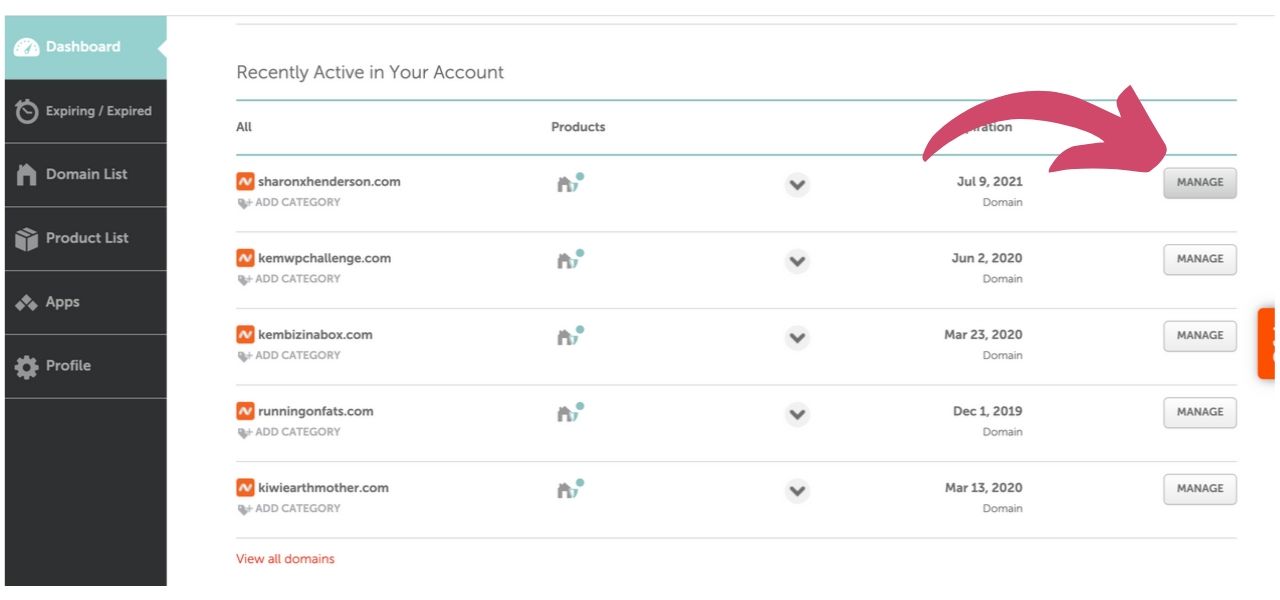
This is what your dashboard will look like. You can see my various domain names here that I have registered with Namecheap.
I actually have domain names registered with many different registrars. One reason for this, is that if I want a “.nz” domain, I can’t purchased it from Namecheap and other registrars based outside of New Zealand.
For the purposes of the demonstration, I will select the top domain name in the list – “sharonxhenderson.com”. I need to click on “Manage”.
Different Registrar Interfaces
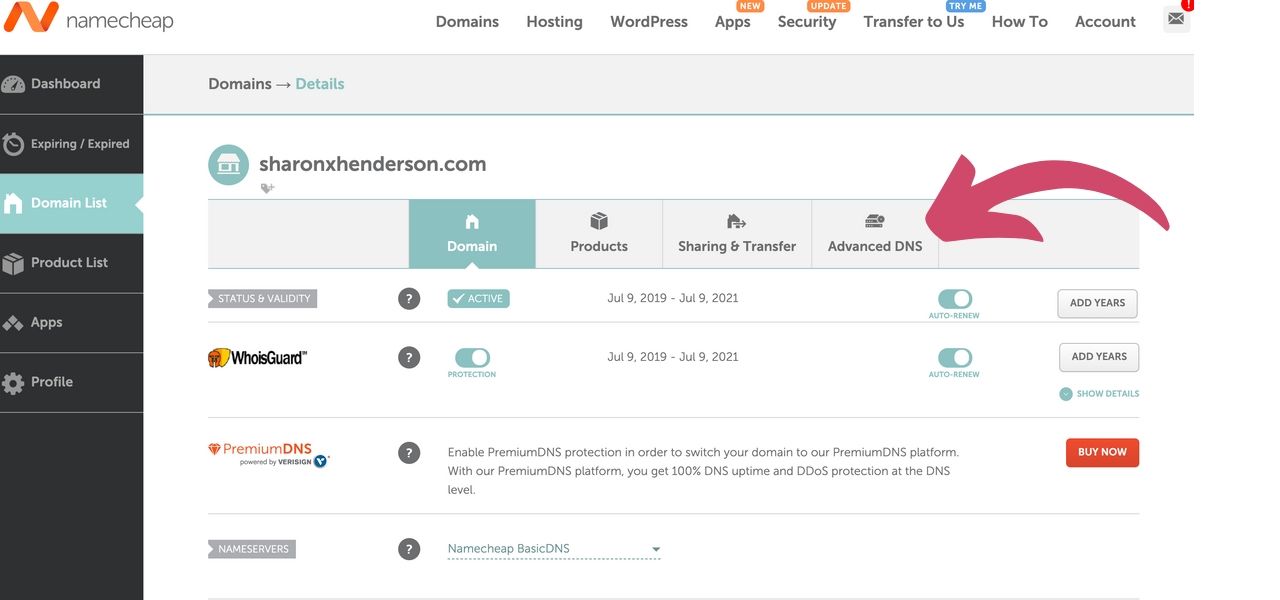
Every registrar does things a little differently, so Namecheap’s interface is different to other registries. But the principles are the same.
In the screenshot, you can see how the domain information is set out. In this case, I‘ve kept my name servers with Namecheap, but you can change that if you wish to.
What is a Name Server?
A name server translates domain names into IP addresses. This makes it possible for a user to access a website by typing in the domain name instead of the website’s actual IP address. For example, I could type in “sharonxhenderson.com.” The request gets sent to Sharon Henderson’s name server. And that name server returns the IP address of my website.
Content Delivery Network or “CDN”
A CDN, which stands for “Content Delivery Network”, is a global network of servers that deliver content to visitors of a website based on where that visitor is located. If you use a CDN, your Australian user would be able to load that static content from a server that’s closest to them. And that server may even be in the same country, depending on the CDN service you decide to go with. This will allow visitors to load the page much more quickly than without a CDN in play.
Now, I am not using a CDN for this site yet, but I really do need to get around to setting this up! Given that site speed is a ranking factor with Google, it’s an important measure to implement.
If you have a CDN, then you would change your name servers in Namecheap to “custom DNS”.
Cloudfare – A Great Free CDN Option
As I have mentioned on previous occasions, Cloudfare is a great choice. Indeed, it’s one of the most widely used options in terms of CDNs. Best of all, it’s free!
Propagation Times
When changes are made to any domain settings, there is a propagation time associated with that change. It doesn’t happen instantaneously.
There are sites dedicated to showing propagation progress for sites where DNS changes have been made. These sites show you in which regions propagation has taken effect and in which regions it is yet to happen. Propagation happens bit by bit, country by country, and it can take up to 42 – or even 72 hours at times for full propagation to occur across the globe.
Adding an A Record
In this case, I’ve kept my domain name servers (my DNS) with Namecheap. Alternatively, I could move my DNS to Siteground, which is where this particular site is currently hosted. However, for reasons that I’ve discussed in previous tutorials, I am not particularly happy with Siteground as a host, and plan to migrate my sites elsewhere. That’s why I’m not transferring my DNS to Siteground.
In this situation, where I’m keeping my DNS at the registry, but wish to point my domain to Siteground, I must create an A record. This requires me to click on the “advanced DNS” tab as you can see in the screenshot below.
Here we see a new screen, as per the screenshot below.
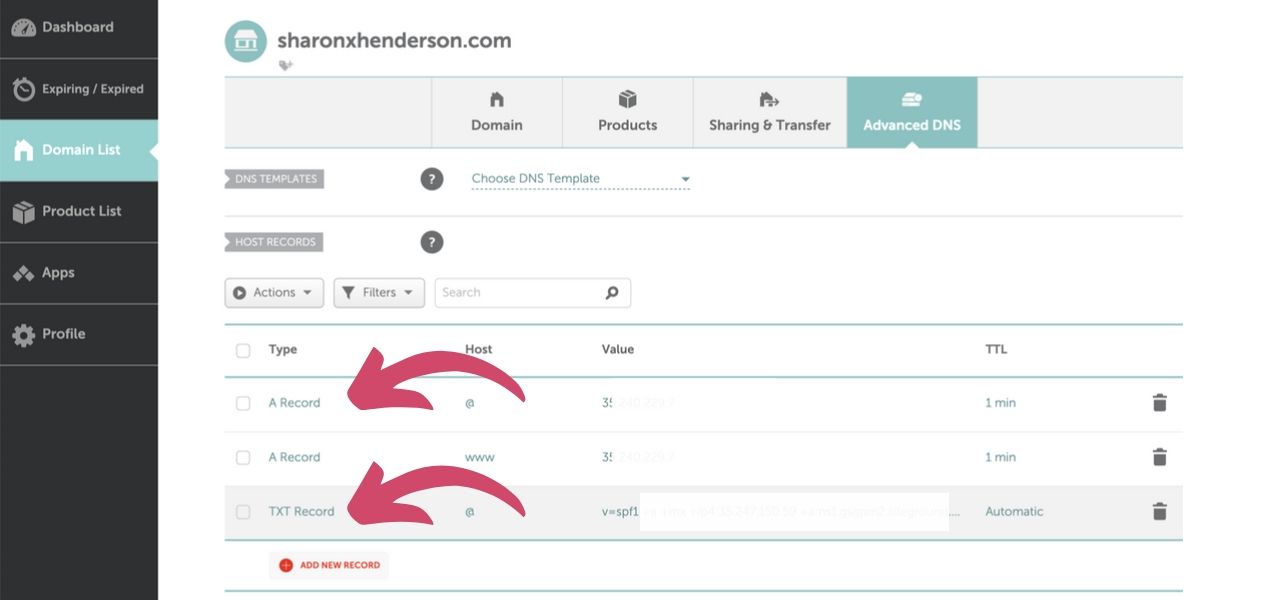
If I then scroll down, I can see that there are already A records in place. Now, I have blanked out the IP address for security reasons, but under the “Value” heading, Siteground’s IP address is recorded.
So, if I ever want to change my web host, then I have to change this value to my new web host’s IP address. Another situation where I will want to change my A record, is where I have a staging site for building my website.
It really is a simple process.
SPF TXT Records
Now, the second arrow in the screenshot is pointing to a TXT record that includes SPF details. SPF stands for “Sender Policy Framework”. Spammers might send emails that appear to come from your domain. We call this “spoofing”. You can add a TXT record with the requisite SPF data to your domain host or registry. This helps your recipients know where emails from your domain should be coming from. And it confirms that the recipient isn’t being spoofed. Essentially, SPF reduces the risk of your recipients’ email clients treating your email as spam.
Conversely, I could direct my entire domain name server (“DNS”) to Siteground. In this case, Siteground would automatically take care of the SPF issue for me. Meaning that I wouldn’t need to add a specific TXT record with the SPF details.
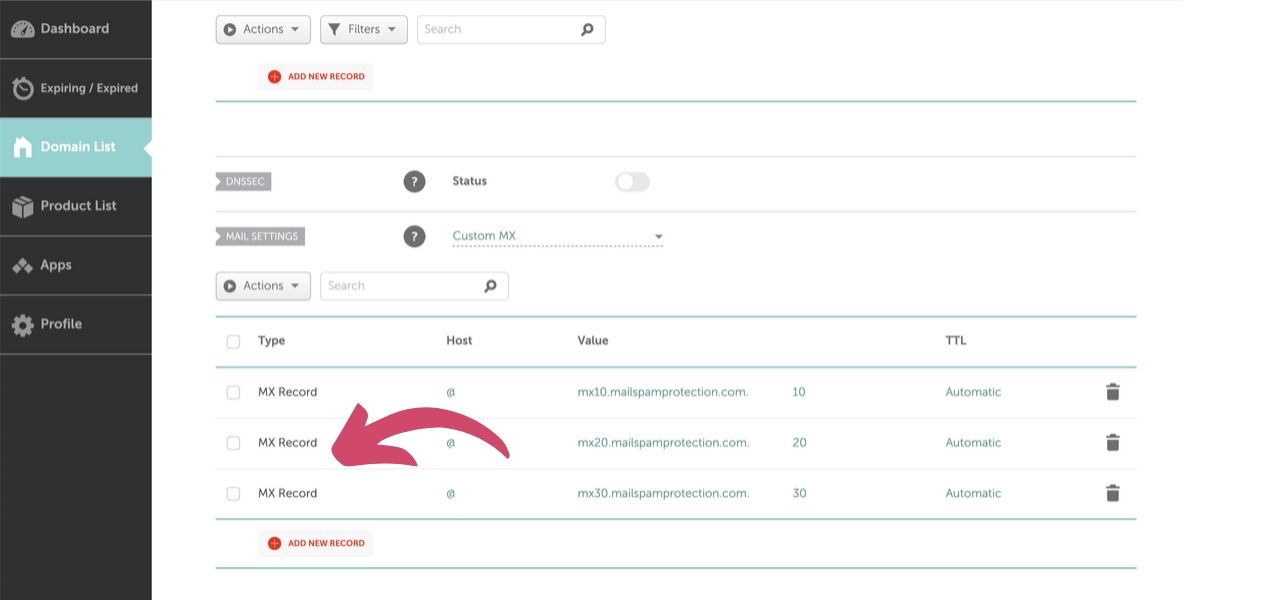
MX Records
In the screenshot above, you can see the MX records. These are situated below the TXT records, when you scroll down. Your email provider will provide you with the details to enter for your MX records. Oftentimes, your web host is also your email provider.
TTL
Here, TTL stands for “Time to Live” – the amount of time it will take for your changes to go live. And the recommended setting here is automatic.
How long it takes for changes to come into effect depends on many factors. My personal experience is that with Namecheap, any changes that I make at the Registry, tend to propagate really quickly. So, my delay is minimal and that’s why I really like Namecheap.
If I was using a New Zealand-based company that provide the “.nz” domains, then it’s been my experience that propagation is a much slower process.
In Conclusion
That, in a nutshell is how you change your domain name at your Domain Registry. I hope you found it easy to follow along. If you have any questions at all, leave them in the comments below this post, and I will be happy to answer them for you.
Sharon Henderson
WordPress & Content Strategist
Do you want the perfect ecosystem of website, landing pages and social media to increase leads and sales without tech overwhelm and compromising on precious family time?
Let me help you set up an ecosystem built for lead generation & sales – so you can get back to being the CEO of your business.
Click here to book a free discovery call!